
 Hello, I'm Tsuneo(@yoshiokatsuneo).
When we learned programming, we'll want to build some product and release it! It is actually the best way to learn coding, and feedback from others motivate us.
In the sense, building Twitter bot is the best fit.
Writing Twitter bot program is relatively easy as it only needs to handle text. And, everyone in the world can easily use your Twitter bot.
While it is easy to write code, setting up the development environment or the server environment can be hard.
So, here, we use PaizaCloud.
PaizaCloud is a browser-based development environment. We no longer need to install and set up the development environment. With PaizaCloud, we can just start Twitter bot development in your browser right now.
Here, we'll create a Twitter bot with Ruby on the PaizaCloud.
Following the instruction, you'll create and run your Twitter bot in about 5 minutes.
Getting started with PaizaCloud Cloud IDE
Let's start!
Here is the websites of PaizaCloud Cloud IDE.
Just sign up with email and click a link in the confirmation email. You can also sign up with GitHub or Google.
Create new server
Let's create a new server for the development workspace.
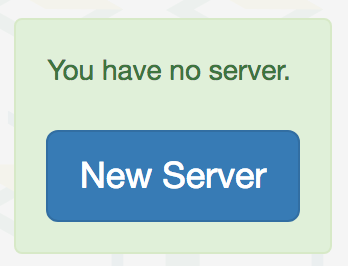
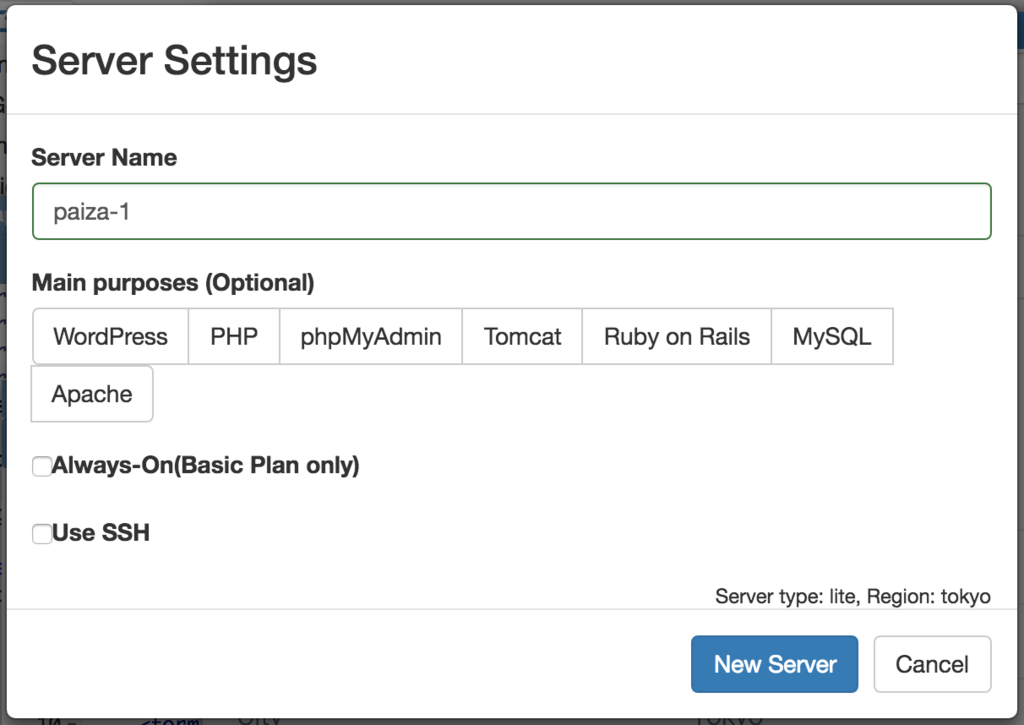
Click "new server" to open a dialog and set up the server. Just click "New Server" button in the dialog without any settings.
Just in 3 seconds, you'll get a browser-based development environment for the Twitter bot.
Creating Twitter API Key
You'll use Twitter API to use Twitter from programs like the Twitter bot. Twitter API requires API Key to be used. So, let's create the API Key.
To create the API key, you'll create an application on the Twitter application management web page.
After logging in the Twitter, open "Twitter Apps" page below.

Then, click "Crete New App" button to create the Twitter application.


Put the program name to "Name", program's description to "Description". And, put your web site to "Website", but if you don't have it, you can put placeholder like "https://example.com/".
Read and check the "Developer Agreement", then, click "Create your Twitter application" button to create the application.
If you have not registered your mobile phone number, you'll get following error message.
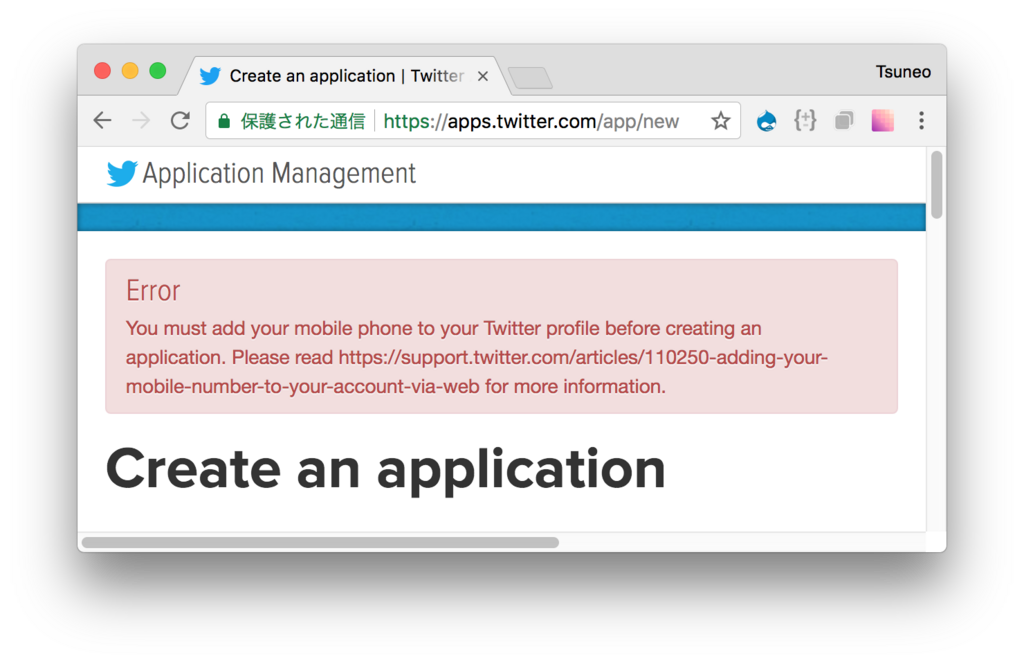
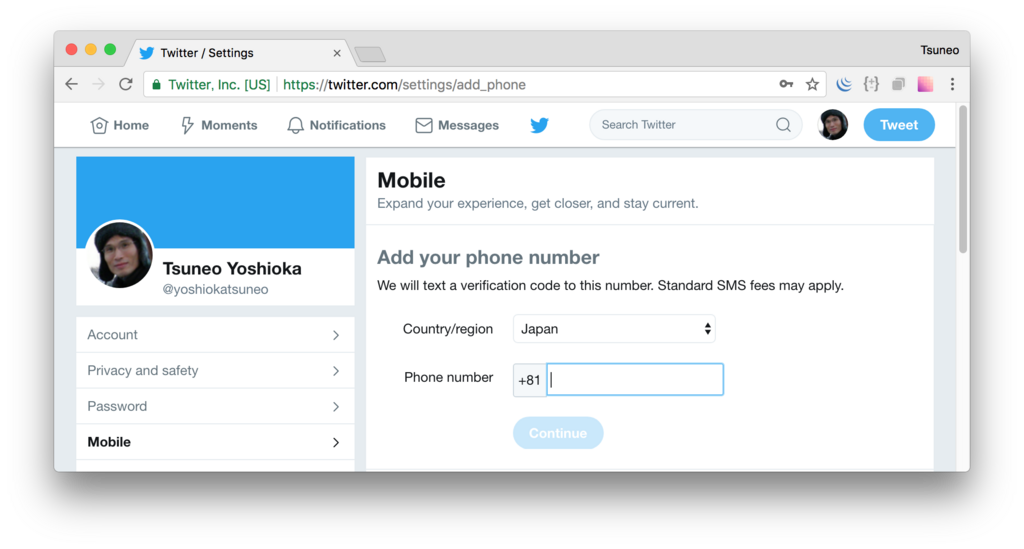
In this case, you can go to phone setting page ( https://twitter.com/settings/add_phone ), and add your phone number, then put the verification code sent by SMS.
Now, you have created the application.
Next, create the API Key for the application. Choose your application and select "Keys and Access Tokens" tab.
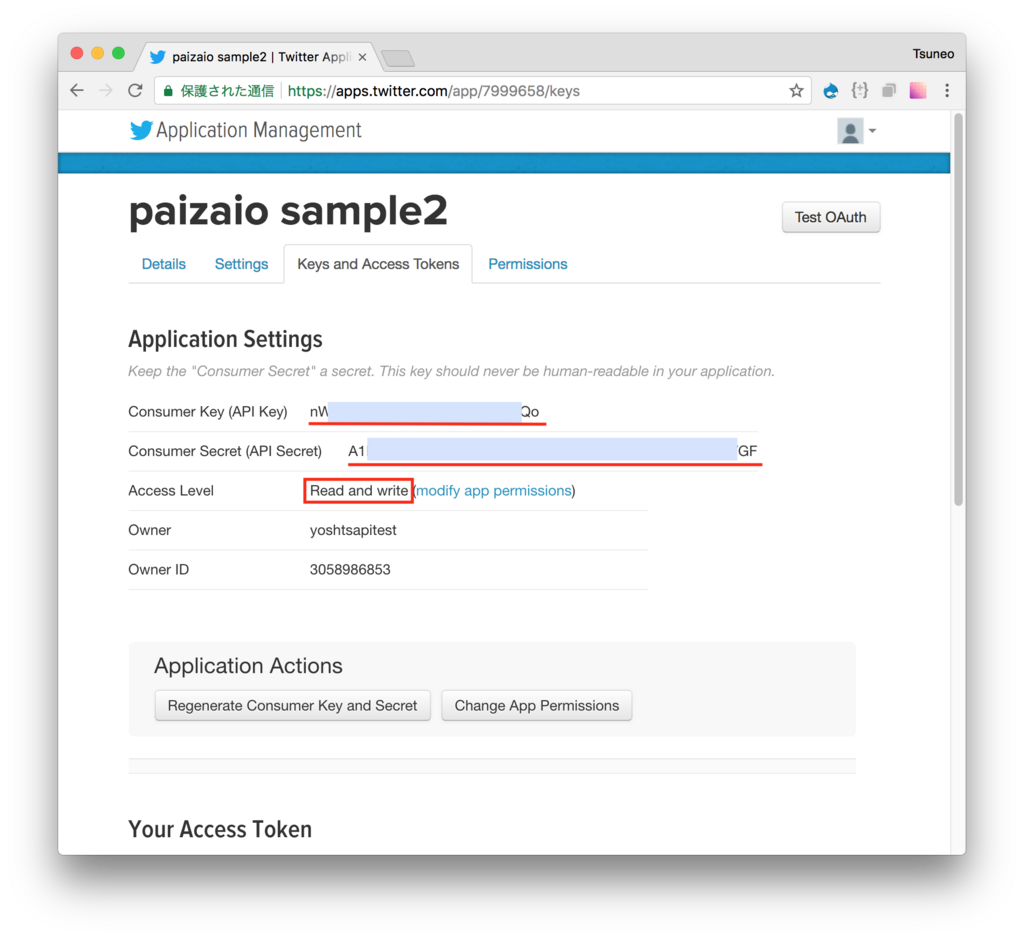

If the "Access Level" is "Read-only", click "modify app permissions" link and change it to "Read and Write".
Next, you'll also need to change the Access Level of "Access Token" to Read-Write mode.
At "Application Actions", click "Regenerate Consumer Key and Secret" link, check that "Access level" in the "Your Access Token" is "Read-Write".
That's it for creating the API Key!
Now, you have 4 strings to access Twitter API, so note those.
- Consumer Key (API Key)
- Consumer Secret (API Secret)
- Access Token
- Access Token Secret
Writing code
Next, let's create your Twitter bot program.
At first, to set the API Key, create a file named "config.rb".
On PaizaCloud, you can create and edit the file in your browser.
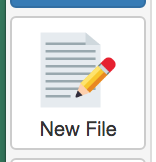
On PaizaCloud, click "New File" at the left side of the page.
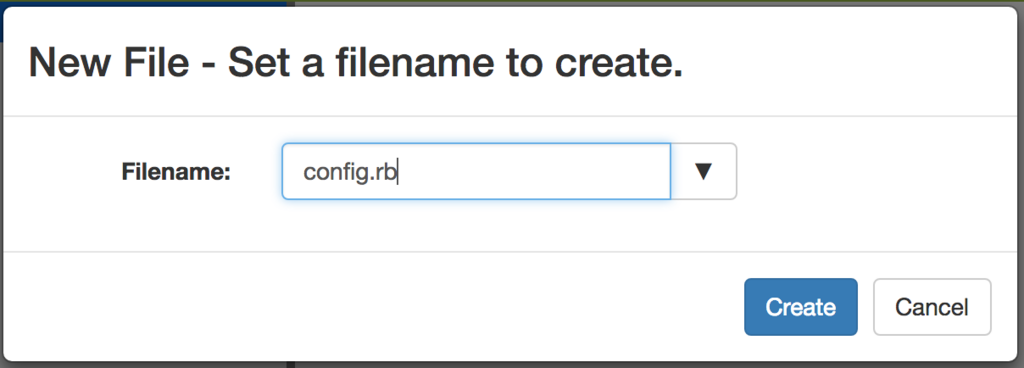
You'll see the dialog box, so put the filename "config.rb", and click the "Create" button.
 As you got "config.rb" file, let's write Twitter bot configuration for the API Key like below.
You need to replace "YOUR_CONSUMER_KEY" / "YOUR_CONSUMER_SECRET" / "YOUR_ACCESS_TOKEN" / "YOUR_ACCESS_SECRET" with your API Key you just created.
config.rb:
require 'twitter'

config = {
    consumer_key: "YOUR_CONSUMER_KEY",
    consumer_secret: "YOUR_CONSUMER_SECRET",
    access_token: "YOUR_ACCESS_TOKEN",
    access_token_secret: "YOUR_ACCESS_SECRET",
}

@restClient = Twitter::REST::Client.new(config)
@streamingClient = Twitter::Streaming::Client.new(config)
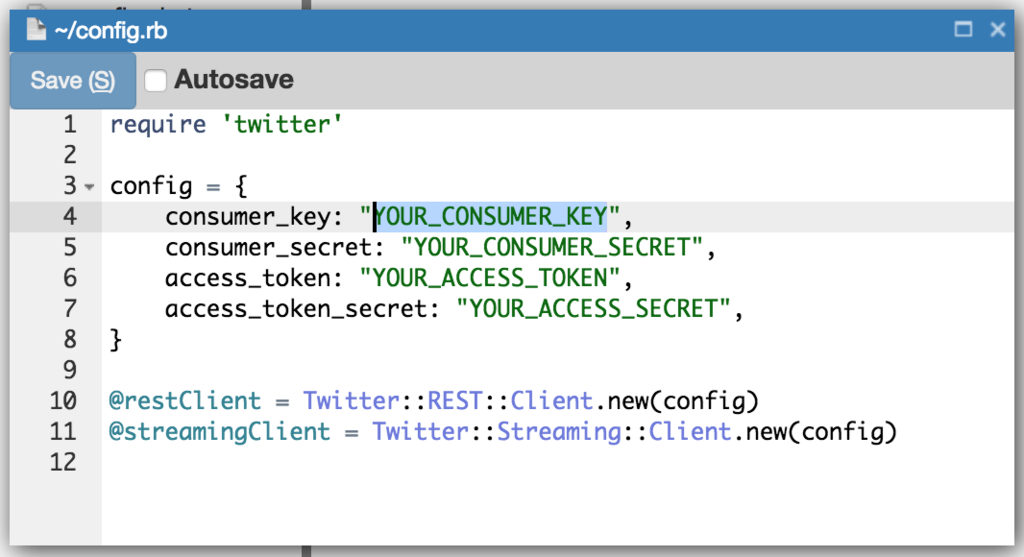
Then, click "Save" button to save the file. As you use "twitter" ruby gem to read or write tweets, write "require 'twitter'" to load the "twitter" gem. And, create objects with API Key to read-write the tweets.
As the "twitter" gem uses different classes for REST API and Streaming API, you'll create "Twitter::REST::Client", and "Twitter::Streaming::Client" object with API Key respectively.
Your first tweet
Now, let's tweet something.
We use "irb" command to use Ruby interactively.
On PaizaCloud, we can use "Terminal" in the browser to run commands.
At the left-side of the page, click "Terminal" button.

The Terminal application starts. Write command like "irb -r ./config.rb" and push Enter key.
$ irb -r ./config.rb
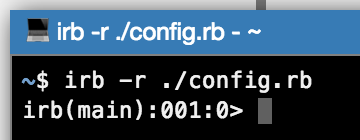
"irb" command starts. Now, let's tweet. You can use "@restClient.update" method to tweet.
@restClient.update("My tweet from Ruby on https://paiza.cloud/ !")

Open Twitter in your browser and see what happens.
You can see that you tweeted from Ruby on PaizaCloud!

Creating Bot
Now, let's create the Twitter bot response to the mention.
Here, we'll create a Bot answering current time, today's date, and tomorrow's date.
At the left-side of the page, click "New File" button to create a file "bot.rb".
Here replace "USERNAME" with your twitter username (without '@').
bot.rb:
require 'twitter'
require './config'

ENV['TZ'] = 'JST-9'
username = "USERNAME"

@streamingClient.user do |tweet|
    if tweet.class == Twitter::Tweet && tweet.text.include?("@#{username}") && !tweet.in_reply_to_status_id
        puts "Found tweet: #{tweet}"
        if tweet.text.downcase.include?("time")
            now = Time.now
            @restClient.update("@#{tweet.user.screen_name} Now is #{now.hour}:#{now.min}:#{now.sec}.", in_reply_to_status_id: tweet.id)
        end
        if tweet.text.downcase.include?("today")
            today = Time.now
            @restClient.update("@#{tweet.user.screen_name} Today is #{today.year}-#{today.month}-#{today.day}.", in_reply_to_status_id: tweet.id)
        end
        if tweet.text.downcase.include?("tomorrow")
            tomorrow = Time.now + (60*60*24)
            @restClient.update("@#{tweet.user.screen_name} Tomorrow is #{tomorrow.year}-#{tomorrow.month}-#{tomorrow.day}", in_reply_to_status_id: tweet.id)
        end
    end
end
We set TZ environment variable to set timezone. @streamClient.user monitor tweets. When it finds a tweet, the block will be executed with argument "tweet". To avoid response to the response, check that the tweet is not reply.
Then, see whether the tweet message contains "time", "today", or "tomorrow", and reply using "@restClient.update".
Run the Twitter bot
That's it!
On PaizaCloud Terminal, run the Twitter bot!
$ ruby bot.rb
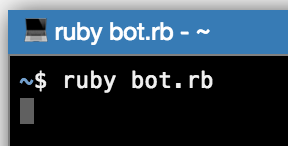
Now, try to send mention on Twitter!
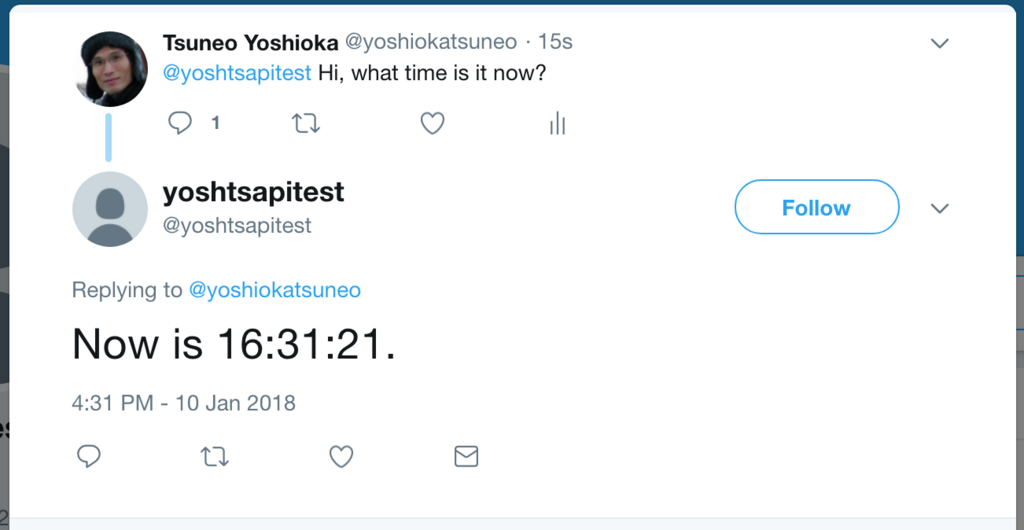
You got reply message! Now, the Twitter bot is done!
Note that on PaizaCloud free plan, the server will be suspended. To run the bot continuously, please upgrade to the BASIC plan.
Summary
We created a Twitter bot with Ruby on PaizaCloud.
A Twitter bot can be created with a short code, and can be changed easily. It is fun to create a bot thinking what to answer to users' tweet message. The bot created on PaizaCloud can run and publish right away. It is also fun to be used by friends or people around the world! Now, let's create your own Twitter bot!
With「PaizaCloud Cloud IDE」, you can flexibly and easily develop your web application or server application, and publish it, just in your browser.

