
 Hello, I'm Tsuneo!(@yoshiokatsuneo).
Do you have an iPad?
With iPad, we can edit e-mail, browse the web, create documents or spreadsheets or presentation, browser photos or movies quite handy. With millions of applications on App Store, iPad can even be more useful than PC.
Isn't it more useful if we can develop web or other applications on iPad?
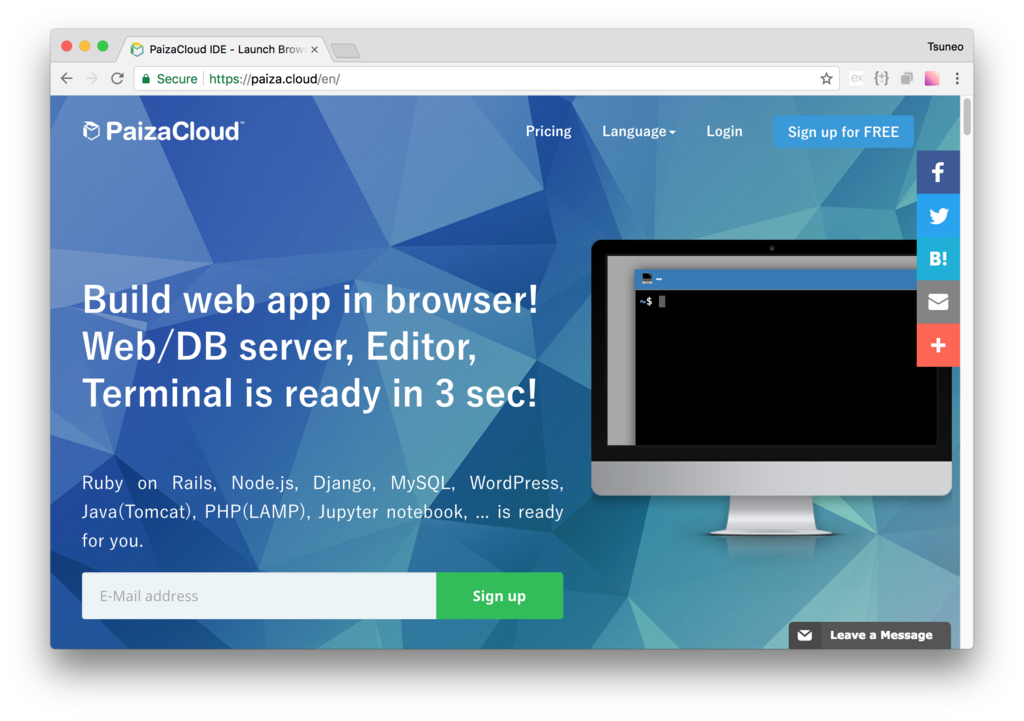
So, here comes PaizaCloud Cloud IDE. PaizaCloud is a browser-based web development environment in the Cloud. With PaizaCloud, we can develop web applications or other applications on iPad!
PaizaCloud supports iPad, and have browser-based editor, terminal, browser-in-browser, file manager for building applications. PaizaCloud has development environments like Ruby on Rails, Django, Node.js, Laravel, PHP, Java(tomcat), MySQL, Jupyter Notebook... You don't need to struggle with annoying installing and setting up development environment.
As you can use the same environment from any devices, you can develop on PC today, and continue development on a cafe using iPad tomorrow.
In this article, we actually build a BBS application on iPad using PaizaCloud and Ruby on Rails. We can build the application just in 10 seconds just following the instruction.
Getting started with PaizaCloud Cloud IDE
So, here is the website of PaizaCloud Cloud IDE.
Just sign up with email and tap a link in the confirmation email. You can also sign up with GitHub or Google.
Create new server
Let's create a new server for the development workspace.

Tap "new server" to open a dialog to set up the server.
Here, you can choose "Ruby on Rails", "phpMyAdmin", and "MySQL", and tap "New Server" button.

Just in 3 seconds, you'll get a browser-based development environment for Ruby on Rails.
Create an application
Then, let's create your Ruby on Rails application.
You can use "rails new" command to create Ruby on Rails application.
On PaizaCloud Cloud IDE, you can use PaizaCloud's "Terminal" application to run the commands in your browser.
Let's tap the "Terminal" button at the left side of the page.

Now, the "Terminal" application launch. So, let's type "rails new [application name]" command in the Terminal.

The '[application name]' is the name of the application you are creating. You can choose whatever you want, like "music-app" or "game-app". Here, I'll choose the application name "myapp", where I can manage the list of posts.
Also, let's add "--database=mysql" to use MySQL database.
So, lets type:
$ rails new myapp --database=mysql

In the file finder view at the left side of the page, you'll see the "myapp" directory. Tap the folder to open it to see inside the directory.

You'll see a bunch of files for the Ruby on Rails application.
You'll already have a MySQL server running because you checked it on the server setting. But if not, you can always manually start like:
$ sudo systemctl enable mysql
$ sudo systemctl start mysql
On PaizaCloud Cloud IDE, you can install packages on root privilege.
Start Ruby on Rails server
Now, you can already run the application. Let's start the application.
Change the directory by "cd myapp", and type "rails server" to start the server!
$ cd myapp
$ rails server

You'll get a new button with text "3000" on the left side of the page.

Ruby on Rails server runs on port 3000. PaizaCloud Cloud IDE detects the port number(3000), and automatically adds the button to open a browser for the port.
Tap the button, and you'll get Browser application(a Browser application in the PaizaCloud). Now, you'll see web page about Ruby on Rails, that is your application!

Create new database table
Next, let's use database on the application.
On Ruby on Rails, you can just use "rails generate scaffold" command to create all files or a database table, a model, a controller, or a routing.
Here, we create a table "posts" with fields "title", "body", and "published".
Now, open another terminal(or, type 'Ctrl-C' to exit "rails server") and type:
$ rails generate scaffold post title:string body:text published:boolean

After that, run commands for creating and migrating database table.
$ rake db:create
$ rake db:migrate

Done! Put "http://localhost:3000/posts/" in the URL bar of the PaizaCloud browser application.
Then, you'll get the list of the board game. Let's try to add or delete the posts.

You can see the database table using phpMyAdmin.
On PaizaCloud browser application, put "http://localhost/phpmyadmin/" in the URL bar.

Edit files
Now, let's change the title by editing the file.
To edit a file, double-tap the file on the file finder view.
Open "boardgame-app/app/views/games/index.html.erb" for editing.

Then, change the title inside <h1>.
myapp/app/views/posts/index.html.erb:
<h1>Welcome to My BBS!</h1>

Then, click "Save" button, or push "Command-S", or "Ctrl-S".

To see the list from top page, let's redirect from top page to the "/posts/" page.
Open "config/route.rb", and append routing for the root page like below.
config/route.rb:
root to: redirect('/posts/')

Now, the basics of the application is done!
Adding CSS framework
To make the page beautiful, let's add a minimalist CSS framework Milligram.
app/views/layouts/aplication.html.erb
  <head>
    <link rel="stylesheet" href="//fonts.googleapis.com/css?family=Roboto:300,300italic,700,700italic">
    <link rel="stylesheet" href="//cdn.rawgit.com/necolas/normalize.css/master/normalize.css">
    <link rel="stylesheet" href="//cdn.rawgit.com/milligram/milligram/master/dist/milligram.min.css">

Now, it's done! Isn't it cool!?
Although we used PaizaCloud on floating window mode, you can switch to tab windows mode for full-screen editing by tapping window bar's maximize button, or by tapping blue button with PaizaCloud button to open a menu and choose "Tab Window Mode".

Summary
With PaizaCloud Cloud IDE, we created a Ruby on Rails application on iPad. Now, let's create your own Ruby on Rails application!
With「PaizaCloud Cloud IDE」, you can flexibly and easily develop your web application or server application, and publish it, just in your browser.
