
 Hello, I'm Tsuneo!(@yoshiokatsuneo)
Python is one of the most popular programing languages. With libraries for machine learning, Python is getting more popular.
Python is a script language. As the Python code can run from one line, it is quite suitable for learning programming. Actually, there is a data that Python is the most popular language to teach in the US universities.
To develop web application with Python, there are several web application frameworks like Django, Pyramid, Flask, Bottle, etc. But among that, Django is obviously the most famous web application framework in Python.
Django is a full stack web application framework with MVC, ORM, generator, etc. By following Django way, you can easily build a well-structured web application.
The latest Django2.0 was just released on Dec 2017. It used to be bothering to think which of Python2 or Python3 to use. But, now, as Django2.0 only support Python3.0, there is nothing to worry about Python version. Now is the good time to start Django!
But, to develop Django application in practice, you need to install and setup Python, Django, or databases. These installation and setting up can be frustrating. Just following the installation instruction does not work or cause errors because of OS, versions, other software dependencies, etc.
Also, if you publish the service, feedbacks from your friends or others will motivate you. But, this requires "deployment" of the service. The "deployment" also frustrates us...
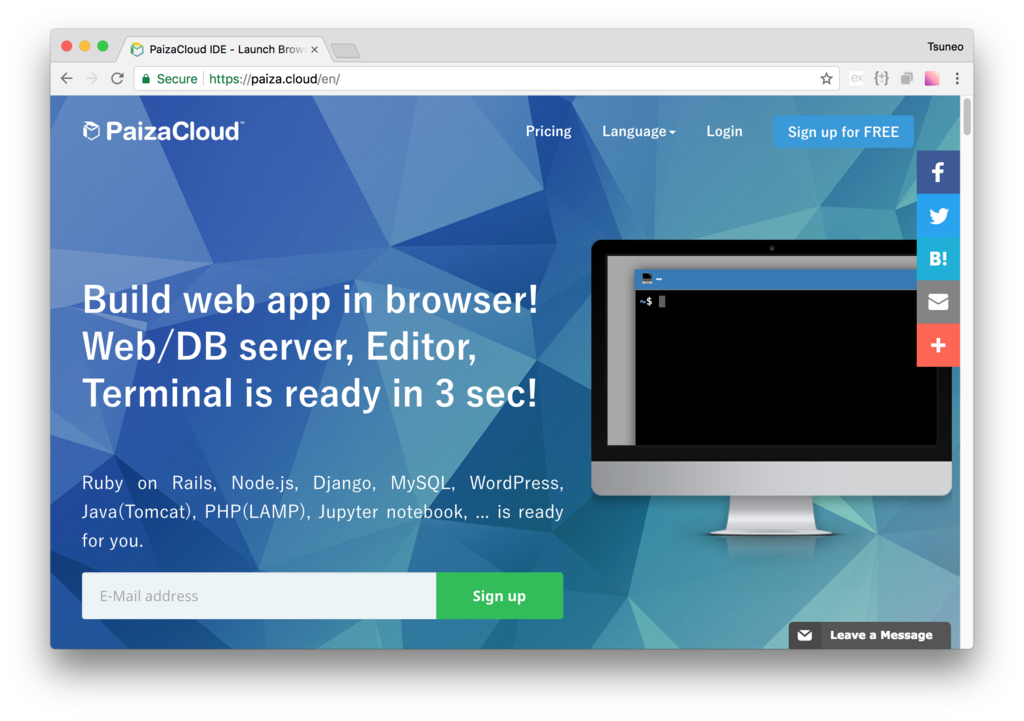
So, here comes PaizaCloud Cloud IDE, a browser-based online web and application development environment.
As PaizaCloud have Django application development environment, you can just start coding for the Django application program in your browser.
And, as you can develop in the cloud, you can just run the Django application on the same machine without setting up another server and deploying to it.
Here, we develop a Todo List application using Django2.0 on the PaizaCloud Cloud IDE.
Following the instruction below, you'll create and run the Django2.0 application just in 10 minutes.
Getting started with PaizaCloud Cloud IDE
So, here is the website of PaizaCloud Cloud IDE.
Just sign up with email and click a link in the confirmation email. You can also sign up with GitHub or Google.
Create new server
Let's create a new server for the development workspace.

Click "new server" to open a dialog to set up the server.
Here, you can choose "phpMyAdmin", and "MySQL", and click "New Server" button.

Just in 3 seconds, you'll get a browser-based development environment for Django.
You'll see editor or browser windows in the page, but we can close those for now.
Create an application
Then, let's create your Django application.
You can use "django-admin startproject" command to create Ruby on Rails application.
On PaizaCloud Cloud IDE, you can use PaizaCloud's "Terminal" application to run the commands in your browser.
Let's click the "Terminal" button at the left side of the page.

Now, the "Terminal" application launch. So, let's type "django-admin startproject [project name]" command in the Terminal.
Here, I'll choose the project name "myapp", where I can manage the Todo List.
So, lets type:
$ django-admin startproject mysite

In the file manager view at the left side of the page, you'll see the "mysite" directory. Click the folder to open it to see inside the directory.

You'll see a bunch of files for the Django application.
Editing file
To run Django on PaizaCloud, you need to edit a file "setting.py". On file manager view, double-click the file "mysite/mysite/settings.py" for editing.

Edit the line "ALLOWED_HOST = []" as following.(By this setting, you can connect the application with host name other than "localhost". Even if you change the line, for the server listening on "127.0.0.1", other than the owner user of the server cannot connect to the server.)
ALLOWED_HOSTS = ['*']

After the editing, click "Save" button or type "Command-S", or "Ctrl-S" to save the file.
Start Django server
Now, you can already run the project. Let's run the project!
Change the directory by typing "cd mysite" command, and type "python3 manage.py runserver" command to start the server!
$ cd mysite
$ pyhton3 manage.py runserver

You'll get a new button with text "8000" on the left side of the page.

Django server runs on port 8000. PaizaCloud Cloud IDE detects the port number(8000), and automatically adds the button to open a browser for the port.
Click the button, and you'll get Browser application(a Browser application in the PaizaCloud). Now, you'll see web page about the Laravel, that is your application!

If you see the error message "DisallowedHost at /, Invalid HTTP_HOST header" on the page, check that "mysite/mysite/settings.py" have a line "ALLOWED_HOSTS = ['*']".

Note: While the Django server runs as an HTTP server, PaizaCloud convert it to HTTPS. And, while the server runs on localhost("127.0.0.1"), PaizaCloud allowed us to access the server with URL "https://localhost-SERVERNAME.paiza-user.cloud:PORT/" .
Creating appliation
On Django, a project has applications as sub directories so that we can have multiple applications on one project.
Let's create an application. We use the command "python3 manage.py startapp" to create the application. Here, we create an application named "todo".
Open the Terminal on PaizaCloud, and run the command below on the project directory("mysite") to create the application.
$ python3 manage.py startapp todo

The directories and files for the application are created. Let's see using the file manager view.

Show a message
At first, we'll show a message on the application. The page view is created on the file "mysite/todo/views.py". So, let's edit the file.
On file management view, double-click the file to edit.

Edit the file as below to show the message "Hello Django World".
mysite/todo/views.py:
from django.http import HttpResponse


def index(request):
    return HttpResponse("Hello Django world!")

After the editing, click "Save" button or type "Command-S", or "Ctrl-S" to save the file.
On Django, the action to show the page is created as a view function. The view function returns the contents of the page. To show the simple text, we can use "HttpResponse()" function to specify the message to show.
Then, we create a file "urls.py" to set the relations(routings) between URL and view function. The URL routing file for the ToDo application is "mysite/todo/urls.py".
Let's create the file "mysite/todo/urls.py". On PaizaCloud file management view, right-click the directory "mysite/todo", and choose "New File" menu.

As the file creation dialog is shown, create the file with name "urls.py".

Edit the created "mysite/todo/urls.py" as below.
mysite/todo/urls.py:
from django.urls import path

from . import views

urlpatterns = [
    path('', views.index, name='index'),
]
Let's see the code. On "urlpatterns" list, we call path() function to set URL, view function, and the name of the routing. Here, we set ''(empty string) to URL, "index" function to the view function, and the name to the "index".
Next, to use the application on the project, set the URL routing for the project. URL routing file for the project is "mysite/urls.py", so let's edit the file.
mysite/urls.py:
from django.urls import include, path
from django.contrib import admin
from django.views.generic import RedirectView

urlpatterns = [
    path('todo/', include('todo.urls')),
    path('admin/', admin.site.urls),
    path('',  RedirectView.as_view(url='/todo/')),
]
Let's see the code. On the first item of the "urlpatterns" list, we set the routing for the path '/todo' to "include('todo.urls')" so that the routing settings under '/todo' path can be specified on the file "mysite/todo/urls.py".
On the third item, we set to redirect the top page('/') to "/todo". We use "RedirectView.as_view()" function to set the redirection. We are importing the RedirectView on the third line.
Then, to use the application on the project, edit the settings file("mysite/mysite/settings.py") to add "todo.apps.TodoConfig" to the INSTALLED_APPS list.
mysite/mysite/settings.py
INSTALLED_APPS = [
    'todo.apps.TodoConfig',
    'django.contrib.admin',
    'django.contrib.auth',
    'django.contrib.contenttypes',
    'django.contrib.sessions',
    'django.contrib.messages',
    'django.contrib.staticfiles',
]
Now, the application settings are done. Let's run the application.
If you have not run the server, type command below to start the server.
$ python3 manage.py runserver
Click the browser icon with text "8000" on the left side of the page.

The message is shown! You application creating is running successfully!
Create database
By default, Django uses SQLite as a database. So, you don't need to set up for the database. Now, let's use the more practical database MySQL. (You can skip the setting if you use SQLite.)
You'll already have a MySQL server running because you checked it on the server setting. But if not, you can always manually start like:
$ sudo systemctl enable mysql
$ sudo systemctl start mysql
On PaizaCloud Cloud IDE, you can install packages on root privilege.
Next, create a database for the application. Here, we create a database "mydb" using "mysql" command. Type the command below to create the "mydb" database.
$ mysql -u root
create database mydb;

You created the database.
Then, set the application to use the database.
Database configuration can be set on "mysite/mysite/settings.py".
Open and edit the file to change database engine from SQLite to MySQL. Don't forget to add "import pymysql", "pymysql.install_as_MySQLdb()" to use the MySQL.
mysite/mysite/settings.py:
# Database
# https://docs.djangoproject.com/en/2.0/ref/settings/#databases
import pymysql
pymysql.install_as_MySQLdb()

DATABASES = {
#    'default': {
#        'ENGINE': 'django.db.backends.sqlite3',
#        'NAME': os.path.join(BASE_DIR, 'db.sqlite3'),
#    }
    'default': {
        'ENGINE': 'django.db.backends.mysql',
        'NAME': 'mydb',
        'USER': 'root',
        'PASSWORD': '',
        'HOST': '127.0.0.1',
        'PORT': '3306',
    }
}
Create table, model, etc.
Now, let's make application to use the database.
On Django, we can create the table using migration file.
By explicitly writing the table structure on the file, we can easily check, change the table structure and re-create, rollback the table.
Let's create the migration file.
At first, create a Model file for the table. With the model, we can access table column just like a variable.
Edit the file "mysite/todo/models.py" to create the model.
mysite/todo/models.py:
from django.db import models


class Post(models.Model):
    body = models.CharField(max_length=200)
Here, we create Post class with "body" text field related to the "post" table.
Next, run the following command to create the migration file from the model.
$ python3 manage.py makemigrations todo
Then, execute the migration file.
$ python3 manage.py migrate
The "post" table is created, we can also see the database table on "phpMyAdmin".
On the browser on PaizaCloud, type "http://localhost/phpmyadmin/" to open the "phpMyAdmin".

Django management server
Django has a built-in database management UI. Let's use it.
At first, create a management account with commands below.
$ python3 manage.py createsuperuser
Username: admin
Email address: admin@example.com
Password: **********
Password (again): *********
Superuser created successfully.
Then, edit the "admin.py" file to allow the management server to access the "post" table created.
mysite/todo/admin.py:
from django.contrib import admin
from .models import Post

admin.site.register(Post)
Let's open the management UI, open the browser on PaizaCloud and type URL "http://localhost:8000/admin/".

As we can see the login page, login using the admin account created.

The management UI is open! We can edit the table here.

Routing settings
On the ToDo list, we have 3 actions: listing ToDos, adding ToDo, deleting ToDo. We assign the routings for those actions like below.
| Method | Path | Action |
|---|---|---|
| GET | /todo | List ToDos |
| POST | /todo/create | Add a ToDo |
| POST | /todo/<int:id>/delete | Delete a ToDo |
We set the routing on "mysite/todo/urls.py" like below.
mysite/todo/urls.py:
from django.urls import path

from . import views

app_name = 'todo'

urlpatterns = [
    path('', views.index, name='index'),
    path('create', views.create, name='create'),
    path('<int:id>/delete', views.delete, name='delete'),
]
Let's see the code. "app_name" need to set to the ToDo application name('todo').
On "urlpatterns" list, we set the routings. On the first item, we set the path '/todo' to call "index" function of "mysite/views.py". On the second item, we set the path '/todo/create' to call "create" function of "mysite/views.py". On the third item, we set the path '/todo/<int:id>' to call "delete" function of "mysite/views.py". By writing the part of the path like "<int:id>'", we can retrieve the part from the program. For example, for the path "/todo/1", we can get the "1" as variable "id".
View settings
Let's write the view code called from the routing. Write functions for listing, adding, and deleting the item as index(), store() and destroy().
mysite/todo/views.py
from django.shortcuts import render, get_object_or_404
from django.http import HttpResponseRedirect, HttpResponse
from django.urls import reverse
from .models import Post
from .forms import PostForm

# Create your views here.
def index(request):
    posts = Post.objects.all()
    form = PostForm()
    context = {'posts': posts, 'form': form, }
    return render(request, 'todo/index.html', context)

def create(request):
    form = PostForm(request.POST)
    form.save(commit=True)
    return HttpResponseRedirect(reverse('todo:index'))

def delete(request, id=None):
    post = get_object_or_404(Post, pk=id)
    post.delete()
    return HttpResponseRedirect(reverse('todo:index'))
Let's see the code. On line 4 and 5, we import the model and form class from "models.py", "forms.py".
On the index() function, we call the Post.objects.all() function to retrieve all the ToDo items from the database. The retrieved data is set to the dictionary "context" with the key "posts" so that HTML templates can access the ToDo list as "posts" variable. On the "form" key, we set the empty PostForm object as a value for the submitting form.
On the create() function, we create a PostForm object from the parameter submitted, and call form.save() to save the data to the database. Then, we redirect the request to '/todo' for listing ToDos. We use HttpResponseRedirect() for the redirection. We use reverse() function to convert from the routing name to the URL.
On the delete() function, we call get_object_or_404() function to retrieve the object for the ToDo ID(id). We use post.delete() to delete the object, and redirect to '/todo' like create() method.
Creating HTML template
Then, let's create HTML templates. On HTML templates, we embed the code on the HTML file.
The HTML file can be written in one file. But, as it is more easy to have a common layout file for multiple template files, we create the layout file.
We create the layout file as "mysite/todo/templates/todo/base.html".
On file management view, right-click the directory "mysite/todo", and choose "New Directory" menu, and create the directory with the name "templates".
Next, right-click the directory "mysite/todo/templates" and choose "New Directory", and create the directory with name "todo".
Then, right-click the "mysite/todo/templates/todo" directory and choose "New file" menu, and create the file with name "base.html".
Edit the created layout file like below.
mysite/todo/templates/todo/base.html:
{% load staticfiles %}
<!DOCTYPE html>
<html>
    <head>
        <title>Todo List</title>
        <!-- CSS And JavaScript -->
        <link rel="stylesheet" href="//fonts.googleapis.com/css?family=Roboto:300,300italic,700,700italic">
        <link rel="stylesheet" href="//cdn.rawgit.com/necolas/normalize.css/master/normalize.css">
        <link rel="stylesheet" href="//cdn.rawgit.com/milligram/milligram/master/dist/milligram.min.css">
        <link rel="stylesheet" href="{% static 'css/todo.css' %}">
    </head>
    <body>
        <div class="container">
            {% block content %}
            {% endblock %}
        </div>
    </body>
</html>
Let's see the file. We use the simple CSS framework "Milligram" to make the HTML more beautiful. Milligram allows us to make the HTML beautiful without adding CSS class names.
On the body tag, we see "{% block content %}{% endblock %}". Here is the placeholder replaced with each page templates.
Next, let's create an HTML template "mysite/todo/templates/todo/index.html" for listing, adding, and deleting ToDos.
Right-click a directory "mysite/todo/templates/todo", and choose "New File" menu, and create a file with name "index.html". Edit the file like below.
mysite/todo/templates/todo/index.html:
{% extends 'todo/base.html' %}
{% block content %}
<h1>Todo List</h1>
{% if error_message %}<p><strong>{{ error_message }}</strong></p>{% endif %}
<form action="{% url 'todo:create' %}" method="post">
{% csrf_token %}
<!-- Todo Name -->
<div class="form-group">
<label for="todo" class="col-sm-3 control-label">Todo</label>
<div class="col-sm-6">
{{ form.body }}
</div>
</div>
<!-- Add Todo Button -->
<div class="form-group">
<div class="col-sm-offset-3 col-sm-6">
<button type="submit" class="btn btn-default">
<i class="fa fa-plus"></i> Add Todo
</button>
</div>
</div>
</form>
<!-- Current Todos -->
<h2>Current Todos</h2>
<table class="table table-striped todo-table">
<thead>
<th>Todos</th><th> </th>
</thead>
<tbody>
{% for post in posts %}
<tr>
<!-- Todo Name -->
<td>
<div>{{ post.body }}</div>
</td>
<td>
<form action="{% url 'todo:delete' post.id %}" method="post">
{% csrf_token %}
<button>Delete</button>
</form>
</td>
</tr>
{% endfor %}
</tbody>
</table>
{% endblock %}
Let's see the HTML template.
The line "{% extends 'todo/base.html' %}" specify to use the layout file('todo/base.html').
The contents between "{% block content %}" and "{% endblock content %}" is for the page contents. The contents replace the "{% block content %}{% endblock %}" part of the layout file("todo/base.html").
The first form is for adding to ToDo. On Django, the form need to have like "{% csrf_token %}" to protect from CSRF attack.
The "input" tag can be generated by writing the field of PostForm object like "{{ form.body }} ". The like will generate the input form like '<input type="text" name="body" id="id_body" maxlength="200">'.
The form is set to submit to "POST /todo".
On the ToDo listing, we can use "posts" list to access the ToDo items. By writing "{% for post in posts %} ... {% endfor %}", we can set each ToDo item to "post" variable.
"{{ post.body }}" is the Django HTML template format to show the contents of "{{}}". Here, we are accessing "body" property of the "post" object to show the "body" column on the database.
On the "Delete" button, we call "POST /todo/{id}/delete" to delete the specified task.
Creating Model Form
To handle a submitting form, we create a model form class "PostForm".
Create a file "mysite/todo/forms.py", and edit like below.
mysite/todo/forms.py:
from django import forms

from .models import Post

class PostForm(forms.ModelForm):
    class Meta:
        model = Post
        fields = ('body',)
The "field" property is set for the form fields.
Run the application
Now, we wrote all the code. Let's see.
Click the browser icon(8000) to open the browser in PaizaCloud.
We see the "ToDo List" page with the empty task.
Let's add or delete the ToDos.

It works! We successfully created the ToDo List application with Django2.0!
Summary
With PaizaCloud Cloud IDE, we created a Django2.0 application just in your browser, without installing or setting up any development environments. Now, let's create your own Django application!
With「PaizaCloud Cloud IDE」, you can flexibly and easily develop your web application or server application, and publish it, just in your browser.
