
 Hi, I'm Tsuneo(@yoshiokatsuneo).
PaizaCloud Cloud IDE is a browser-based Web development environment running in your browser, which can be used like Desktop OS(Windows, Mac) to casually develop Web applications.
As it runs on the browser, you don't need to do the cumbersome tasks like installation or setting up the development environment. You can just write code anywhere, anytime.
PaizaCloud have tools to operate the server, like file manager, text editor, terminal, or browser(browser-in-browser).
Those tools work for daily use. But, isn't it cool if you can add other tools like adding apps in PCs or smartphones.
So, here comes PaizaCloud Apps. By installing PaizaCloud Apps, you can add tools and features. You can install PaizaCloud Apps someone made. Or, you can create your own PaizaCloud App.
Isn't it fun if your friends use tools you made?
You can create the PaizaCloud Apps with HTML and JavaScript, just like Web pages.
Here, we'll create a simple drawing tool as an example PaizaCloud App.
Getting started with PaizaCloud Cloud IDE
Let's start!
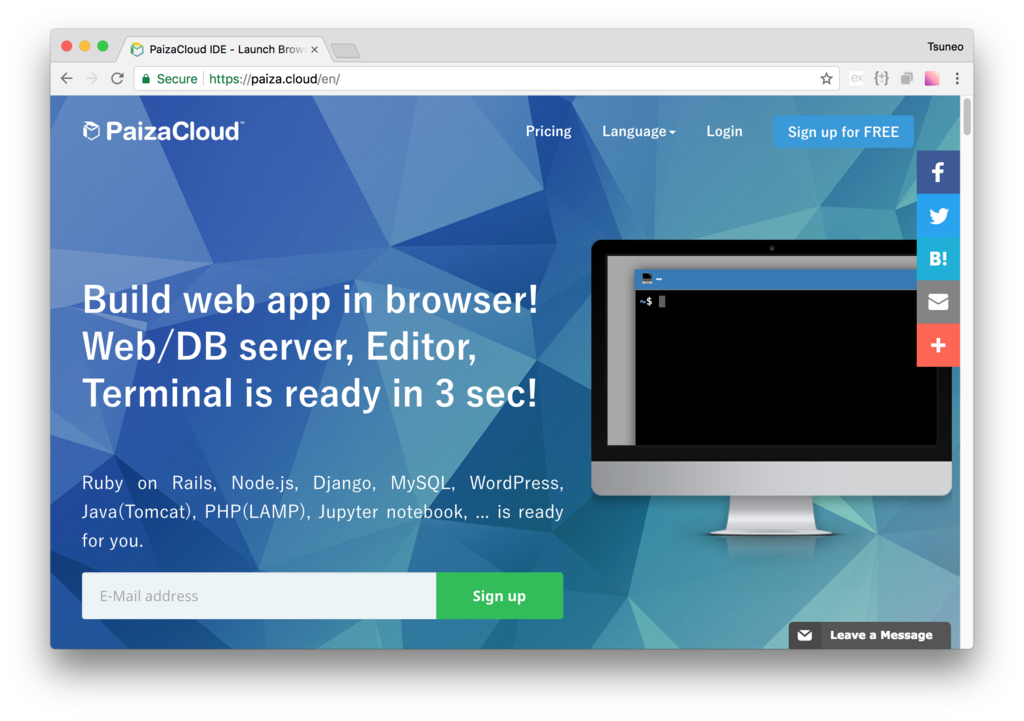
Here is the website of PaizaCloud Cloud IDE.
Just sign up with email and click a link in the confirmation email. You can also sign up with GitHub or Google.
Create new server
Next, let's create a new server for the development workspace.

Click "new server" to open a dialog to set up the server. Just click "New Server" button in the dialog without any settings.

Just in 3 seconds, you'll get a browser-based development environment.
How to use standard tools(Apps)
Before creating a new PaizaCloud App, let's see how standard tools work. Standard tools are listed on the left side of the page.
Upmost button with text "New file" is for a Text Editor. Click 'New file' button.

Now, we see the dialog box to set filename. Set the filename, and click 'Create' button.

After writing some text, click 'Save' button or type "Ctrl-S" or "Command-S" shortcut to save to the file. When you see the file finder on the left side of the page, you will also see the file "myapp.rb" you just created.
In these ways, you can load, edit and save text files. PaizaCloud has other tools like terminal or browser. Let's play with those tools.
Install PaizaCloud Apps
Now, let's see about PaizaCloud Apps.
PaizaCloud Apps is available as a button with text "Apps" and a PaizaCloud logo.
Create the PaizaCloud Apps button. You'll see the dialog to install PaizaCloud Apps.

Choose PaizaCloud App, and click "Install" button to install the PaizaCloud App.
Once installed, a button for the PaizaCloud App will appear on the left side of the page.
But for now, to create our own PaizaCloud app, let's click a button 'Create PaizaCloud App'.
Dialog to create PaizaCloud
You'll see a dialog box to create a PaizaCloud App.

Let's input the name of the application. You can also add an icon image, description, or extensions associated with the PaizaCloud App.
In the textarea, you can write codes using HTML or JavaScipt. You already have the template files to create a simple text editor. So, let's start with the template.
Creating PaizaCloud apps
Click 'save' button, and you'll see browser view for previewing the App.

Now, you can write HTML or JavaScript viewing the browser preview. (You can specify an external URL by clicking "External URL").
Let's change some title text and click 'Save' button. You'll get an updated browser preview right away.
PaizaCloud Apps JavaScript API
You cannot communicate with PaizaCloud to use features provided by PaizaCloud only by HTML or CSS. You'll need to use PaizaCloud JavaScript API to communicate with PaizaCloud.
You can call functions like file operation with this API.
PaizaCloud API uses a library Penpal.
To use the API, you need to connect PaizaCloud as below.
const connection = window.Penpal.connectToParent({methods: ...});
In the methods options, you can add function to handle calls from PaizaCloud. The following API functions are available.
| API function | feature |
|---|---|
| openFile(filename) | On double click a file in the file finder |
To use PaizaCloud features from the PaizaCloud app, you can use the "connection" object to call API functions. Following API functions are available.
| API function | feature |
|---|---|
| openSaveModal(options) | Open modal dialog for saving. |
| openLoadModal(options) | Open modal dialog for loading. |
| writeFile(file, data, options) | Write data to a file. |
| readFile(file, data, options) | Load data from a file. |
| execFile(file, args, options) | Execute a file(program). |
You can call those functions by adding the function name to the "connection" object. As you can get the result with Promise, you can call those functions like below.
connection.[function name](arguments).then((result) => { /* handle the result */});"
For about writeFile / readFile / execFile functions, the usage is the same as Node.js functions. (However, the result will be available as a Promise instead of a callback.)
In the template App, you can see those functions for reading and writing files in the "script.js". Check it out!
Creating a drawing App
Now, let's create a drawing App based on the template created.
In the HTML file, create canvas element to draw.
index.html:
<html>
<head>
  <link rel="stylesheet" href="style.css">
  <link rel="stylesheet" href="https://maxcdn.bootstrapcdn.com/bootstrap/3.3.7/css/bootstrap.min.css">
</head>
<body>
  <div class="header">
    <span>My Paint App</span>
    <button type="button" class="btn btn-default save">Save</button>
    <button type="button" class="btn btn-default load">Load</button>
  </div>
  <div class="main">
    <canvas class="absolute w-100 h-100" style="border: solid 1px black;"></canvas>
  </div>
  <script src="https://unpkg.com/penpal/dist/penpal.js"></script>
  <script src="https://ajax.googleapis.com/ajax/libs/jquery/3.2.1/jquery.min.js"></script>
  <script src="https://maxcdn.bootstrapcdn.com/bootstrap/3.3.7/js/bootstrap.min.js"></script>
  <script src="script.js"></script>
</body>
</html>
Next, make a style sheet.
style.css:
body{
  width: 100%;
  height: 100%;
  display: flex;
  flex-direction: column;
}
.main{
  flex: 1 1 auto;
  position: relative;
}
.absolute{
  position: absolute;
}
canvas{
    border: solid 1px black;
    cursor: pointer;
}
.w-100{
  width: 100%;
}
.h-100{
  height: 100%;
}
Then, write JavaScript code. To handle mouse operation, add event listeners for "mousedown", "mousemove", or "mouseup" events. Draw to the canvas based on the mouse moves.
script.js:
// PaizaCloud App APIs:
//   Initialize:
//     * Penpal.connectToParent(options)
//   Call from App to PaizaCloud:
//     * openSaveModal(options)
//     * openLoadModal(options)
//     * writeFile(file, data, options, callback)
//     * readFile(file, data, options, callback)
//     * execFile(file, args, options, callback)
//   Call from PaizaCloud to App:
//     * openFile(filename)

var connection = window.Penpal.connectToParent({
  methods: {
    openFile: (filename) => {
      openFile(filename);
    }
  }
});
let parent;
connection.promise.then((parent_) => {
    parent = parent_;
    console.log('Penpal connected');
});

function openFile(filename) {
  parent.readFile(filename, {encoding: 'base64'}).then((result) => {
    var dataUrl = "data:image/png;base64," + result.data;
    var img = new Image();
    img.onload = function(){
        context.drawImage(img, 0, 0);
    }
    img.src = dataUrl;

  });
}
function saveFile(filename) {
    let dataUrl = canvas.toDataURL(); // data:image/png;base64,xxxxx
    let base64 = dataUrl.substr(22);
    parent.writeFile(filename, base64, {encoding: 'base64'});
}

$(".save").on('click', () => {
  parent.openSaveModal({extensions: ['txt']}).then((filename) => {
    saveFile(filename);
  });
});

$(".load").on('click', () => {
  parent.openLoadModal({extensions: ['txt']}).then((filename) => {
    openFile(filename);
  });
});

$('canvas').attr('width', $(".main").width());
$('canvas').attr('height', $(".main").height());

var canvas = $("canvas")[0];
var context = canvas.getContext('2d');

function getPos(event) {
    var x = event.clientX - canvas.getBoundingClientRect().x + canvas.scrollLeft;
    var y = event.clientY - canvas.getBoundingClientRect().y + canvas.scrollTop;
    return [x, y];
}
let lastPos;

$("canvas").on('mousedown', (event) => {
    lastPos = getPos(event);
});
$("canvas").on('mousemove', (event) => {
    if(!lastPos){return;}
    const p = getPos(event);
    context.beginPath();
    context.moveTo(lastPos[0], lastPos[1]);
    context.lineTo(p[0], p[1]);
    context.stroke();
    lastPos = p;
})
$("canvas").on('mouseup', (event) => {
    lastPos = null;
});
That's it!
Click 'Save' button to save the App.
Install the drawing App
Now, let's install the App we just created.
Click 'My servers' to show the workspace page. Then, click "+ Apps" icon to open PaizaCloud App installation dialog box.
On the dialog box, choose the application created, and click 'Install' button.
After the installation, we'll see the App's icon on the left side of the page.

If you click the icon, you can launch the App! You can draw pictures, save the image to the file, or load the image from the file. Let's try!


Summary
We created a drawing PaizaCloud App and install it.
With PaizaCloud Apps, you can make your environment more convenient and comfortable.
As you can create the PaizaCloud App just with HTML and JavaScript, let's create Apps! Also, it would be more fun to share the PaizaCloud Apps with your friends or others!
With「PaizaCloud Cloud IDE」, you can flexibly and easily develop your Web application or server application, and publish it, just in your browser.
